Maths Trail
Ages: 4-12 years
Materials: paper, pens
Time: 1-2 hrs
Complexity: easy to mid-level
“A maths trail consists of a sequence of stops along a pre-planned route on which students examine mathematics in the environment”
Rod Cross, Developing Maths Trails, 1997
A maths trail will help to highlight the varied uses of maths in our everyday life. As students’ complete maths activities along the trail they are applying skills learned in the classroom in a meaningful way. Participants will observe, measure, collect and record data to later translate and interpret it, back in the classroom. Maths Trails are very popular with primary school children, as well as being valuable for older and mixed groups.
“Do you know what my worst lesson is? It’s maths,
but I really like doing maths when it’s outdoors!”
“My favourite bit this week was the maths trail because it’s outside and you get to do more things.”
Why do a Maths Trail?
There are many great reasons to include maths trails in the teaching and learning of mathematics. As a maths trail typically takes place outside the classroom / school it creates an atmosphere of exploration and excitement. Participants share a sense of anticipation and discovery, which naturally leads them to communicate the mathematical concepts which are evident along the trail. As participants engage in stimulating conversations about mathematical ideas, they will begin to make connections and problem solve.
A well-developed maths trail will offer rich learning experiences for people of all ages as it will:
By asking questions such as “what have you discovered? and how did you find that?” students can practice translating and interpreting the maths around them.
Give pupils regular opportunities to describe, explain and justify their understanding of mathematical concepts by asking questions such as “what maths word would best describe…. What is this maths task all about? Are everybody else’s results the same? Why/ Why not?
Ask open ended questions and allow the students to ask themselves questions such as “do we have all the information needed for this question? Can we simplify the question? E.g. How many of these beach balls would fit into the tennis court?
“Students develop better capacities for problem-solving and reasoning and obtain higher learning outcomes when they are able to interact with others, share ideas, challenge perspectives, and discuss alternative propositions before reaching agreement”
Rojas-Drummand and Mercer, 2003; Wegerif et al, 1999
Enable students to make connections between maths strands as well as connections between maths and the real world. E.g. While on the trail get students to count the number of red blocks and the number of grey blocks and draw the pattern onto their activity sheet.
The following questions could then be asked as a follow up activity in the classroom:
Using the data collected on the maths trail, what is the ratio of red blocks to grey blocks? If the red blocks cost x and the grey blocks cost y, how much did the blocks cost for this wall? What other patterns can you make using these rectangular blocks in two different colours.
You can facilitate this by posing a series of questions such as “draw the pattern made from the tiles in the wall. How many different colour tiles are used within this repeating pattern? What other patterns are possible using these shapes and colours? Why do you think this pattern – and these colours – have been chosen over other possibilities?”
What do you observe? What do you notice? What do you need to know? What assumptions are being made? What would happen if…?
How to construct a Maths Trail
Here we have a simple step by step guide on how you can create a maths trail in your surrounding environment, such as school grounds, the local shopping centre, the local park and playground, or museums, to name a few. It may take a bit of work to set it up in the first place but once completed it will not require much updating and can be used by various groups of students for years to come.
Step by Step
Begin by walking around the area and selecting sites that are offer rich mathematical opportunities. As you are exploring the site think about the topics you teach in a mathematics lesson. Use your maths eyes to look for numbers (clocks, licence plates, dates, money), patterns, shapes, look for things to count, graph and/or measure (distance, time, temperature, weight). Include direction and pivoting 90 degrees, 180 degrees. What else can you see?
Each teacher should identify maths tasks for the site but also include questions that cannot be answered immediately. i.e. students must collect materials and information for further investigations back in the classroom.
It would be beneficial to devise differentiated maths activities that will appeal to students with different learning styles and maths abilities, resulting in an adaptable resource that the whole community can use.
You should take photos of the different stops, accompany them with notes and identify each stop by giving it an appropriate name.
- Try to contextualise the questions so that the activity is not just a mathematical exercise which could easily be done in the classroom.
- Are pupils being challenged?
- Aim to improve mathematical thinking, not just observational thinking.
- Questions should provide opportunities for children to explore and develop strategies for solving a variety of problems. Explain this to the students prior to starting the activity.
- Be sure to make it as attractive as possible by including photos and drawings.
- You may like to include a map and directions for the students to follow.
- Make a list of any equipment needed at each stop.
- Run through the school’s guidelines regarding safety and behaviour on a school excursion.
- If there is any equipment needed at each stop then make sure to place the equipment there prior to the beginning of the activity.
- Make sure the students are familiar with the equipment and have time practicing with it.
- Assign mixed ability groups and include roles such as reader and recorder, calculator, checker, reporter
- Give each group a clip board and a template for the group to enter their details (see above)
Examples of Maths Trails:
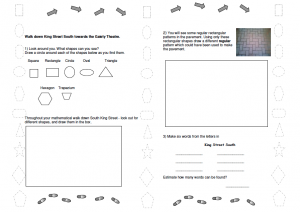
- Maths Week Maths Trail
PDF here (opens in a new window)
- Great design and clear instructions:
http://www.haveyougotmathseyes.com/wp-content/uploads/2012/03/Navan-Maths-Trail.pdf - Differentiated for different levels:
http://www.haveyougotmathseyes.com/wp-content/uploads/resources/SeanWalsh_Maths_Trail.pdf - Outdoor inclusive of pictures
http://www.haveyougotmathseyes.com/wp-content/uploads/resources/Corcagh_Park_Maths_Trail_final.pdf - Examples of questions (weight, height, temperature scale, time, shapes, area, patterns, direction):
https://nrich.maths.org/content/id/2579/questions.pdf - GILL EDUCATION:
http://www.gillbooks.ie/AcuCustom/Sitename/DAM/099/SS6_MT_01.pdf
Example
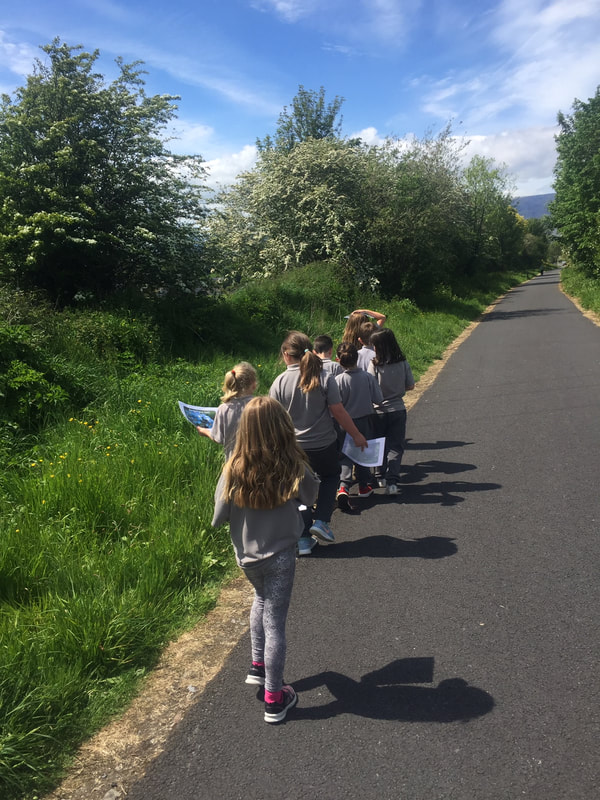
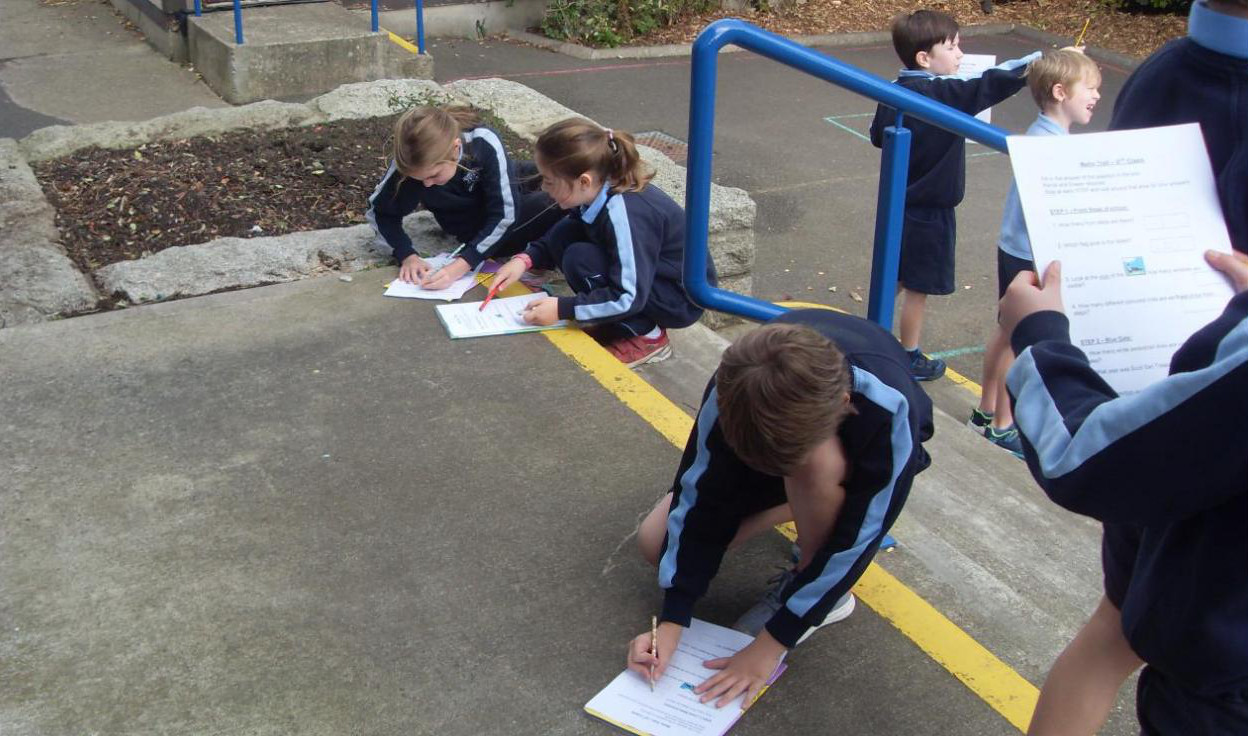
image courtesy Kilmacthomas NS
For example: If your maths trail includes a corridor, you could provide the following maths task that offers a low threshold and high ceiling for a group of junior post primary students:
- What 2D shapes can you see along the wall in the corridor?
- There are many circular shapes on the wall. Measure the circumference of the largest circle. Measure the length of the diameter of the same circle. (pick from the selection of equipment provided, remember measure twice and record once)
- Calculate the following ratio:
length of circumference/length of the diameter - Repeat steps 2. and 3. above with two other circles on the wall and explain your findings.